Right To Learn
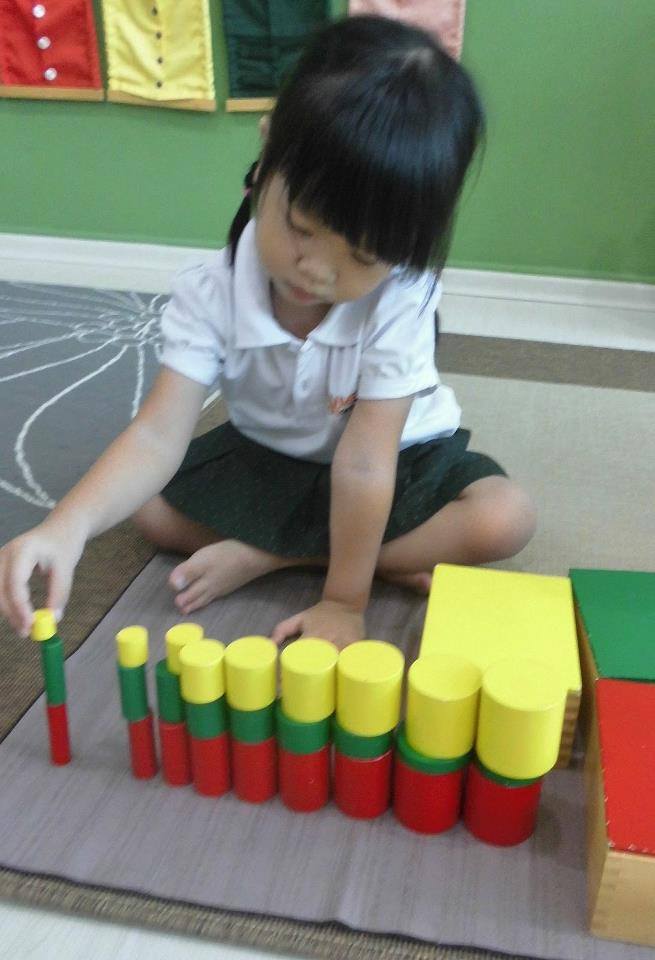
Montessori Sensorial Wooden Knobless Cylinders
Montessori Sensorial Wooden Knobless Cylinders
Couldn't load pickup availability
Knobless Cylinders
Materials
Four boxes each with a set of 10 cylinders of the same size as the cylinder blocks:
- One set of red: two different dimensions.
- One set of yellow: three different dimensions.
- One set of green: three different dimensions – inverse to the first.
- One set of blue: one different dimension.
Presentation
Introduction
Invite the child to come and work with you. Bring him over to the shelf and tell him we will be working with the knobless cylinders. Show him the red box and have him bring it to the table, placing it on the right side of the table.
Procedure 1: The Red Box
- Open the box and place the box onto its lid.
- Remove all of the red cylinders and place then randomly to the left of the box and place the lid back on.
- Pick up the thickest cylinder and very quietly place it to the left of the table.
- Grade the red cylinders from thickest to thinnest.
- Make sure they are lined up all having the same center point.
- You and the child stand up from the table and look at the cylinders from the top and from every side. (Make sure the child gets to where the table is at nose level to truly see them lined up.)
- Both you and the child sit down and you mix up the cylinders.
- Then have the child grade them.
- Show the child how to put the cylinders back into the box by placing the thickest to the thinnest back in.
- The child can work individually on one box at a time: the red box, the green box, the yellow box, or the blue box
Procedure 2: The Red and Green Boxes
- Take out the red and green box.
- Grade the red as in Presentation 1.
- Take out all of the green cylinders and have the child grade them from shortest to tallest, directly in front of the red cylinders.
- Look at it from all directions.
- Grade the red cylinders in reverse, and this time in front of the green cylinders so you are now comparing them in the other direction.
- Superimpose one over the other but always keeping the one with the larger base on the bottom.
- Feel free to explore by superimposing in other ways, always looking at it from all directions.
Procedure 3: The Red and Yellow Boxes
- Repeat as in Presentation 2. Keep the examination orderly but allow the child to explore.
Procedure 4: The Green and Yellow Boxes
- Grade the green and then the yellow cylinders in the same manner as in the above presentations. Allow the child to explore.
Procedure 5: The Red and Blue Boxes
- Have the child grade the red cylinders.
- Then grade the blue from tallest to shortest and directly in front of the red.
- Explore by superimposing.
Procedure 6: The Green and Blue Boxes
- Grade the green cylinders and then the blue in the same manner as above.
- Superimpose one over the other.
- Allow the child to explore.
Procedure 7: The Yellow and Blue Boxes
- Grade the yellow and then the blue cylinders in the same manner as the presentations before.
- Allow the child to explore.
Procedure 8: Three Boxes at a time
- Have the child begin by grading each of the three boxes and then exploring as he had done when using two boxes.
Procedure 9: Four Boxes at a time
- Grade all four of the cylinder sets individually and then explore.
you might what to allow the child to build all four of the sets on a large mirror so as to be able to see the different grading as a reflection.
Purpose
Direct
To observe and compare the different series with each other.
Indirect
Getting a clearer understanding for the different dimensions and their interplay.
Age
4 1/2 years

Share


